In this blog let us see how do we make a chat interface using an LLM from scratch.
But why a chat interface when we have ChatGPT or Gemini already.
Here are the reasons why do I need a chat interface?
Now in a traditional ChatGPT you will have a direct interface which has been developed already and we use it but now when you want a chatbot instead of a whole GPT we can get it by linking an API into your application..
So this is the motivation of why you need a chat interface.
Now let us understand what are the prerequisites needed to develop this application:
- You need Visual Studio Code, Python Latest version installed on your system.
- Some libraries to be installed which I’ll specify down the lane now
Let us get started with the coding now:
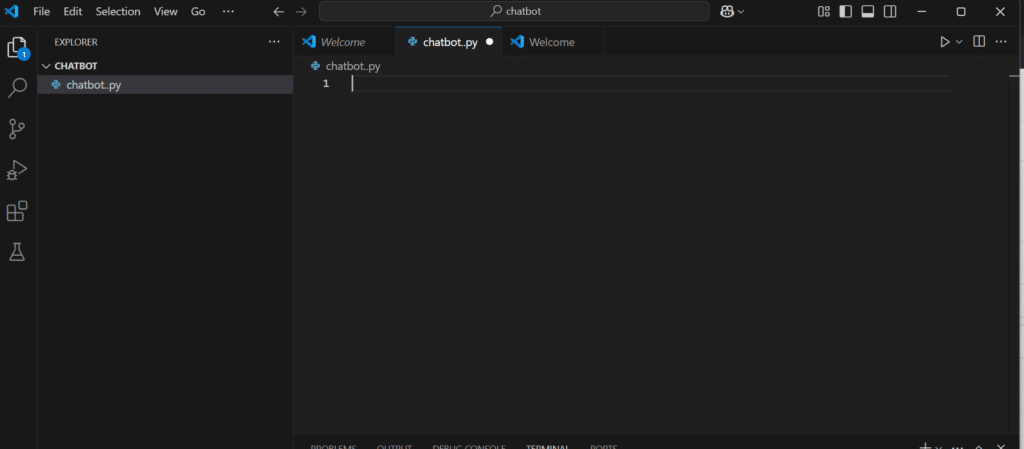
Step 1: Open VS Code, create a folder chatbot in that folder create a file called chatbot.py
Step 2: Now install the listed libraries in terminal:
pip install streamlit
pip install google-generativeai
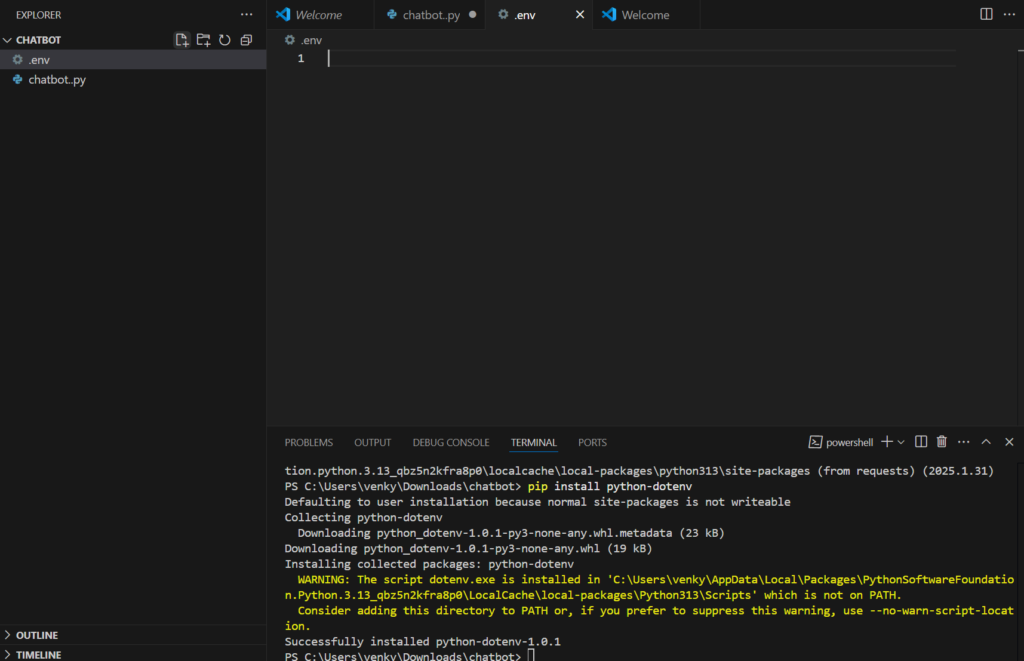
pip install python-dotenv
pip install requests
Why Streamlit? It is used to build a user interface for applications.
Why Google Generative AI? It provides an API key to integrate and interact with the LLM in a project.
Why dotenv? It manages environment variables in Python applications by loading key-value pairs from a .env file.
Why requests? It is used to send HTTP requests to the LLM and receive responses accordingly.
Now after installing all the libraries your good to go.
Step 3: Now try creating a .env file where we will store our API key.
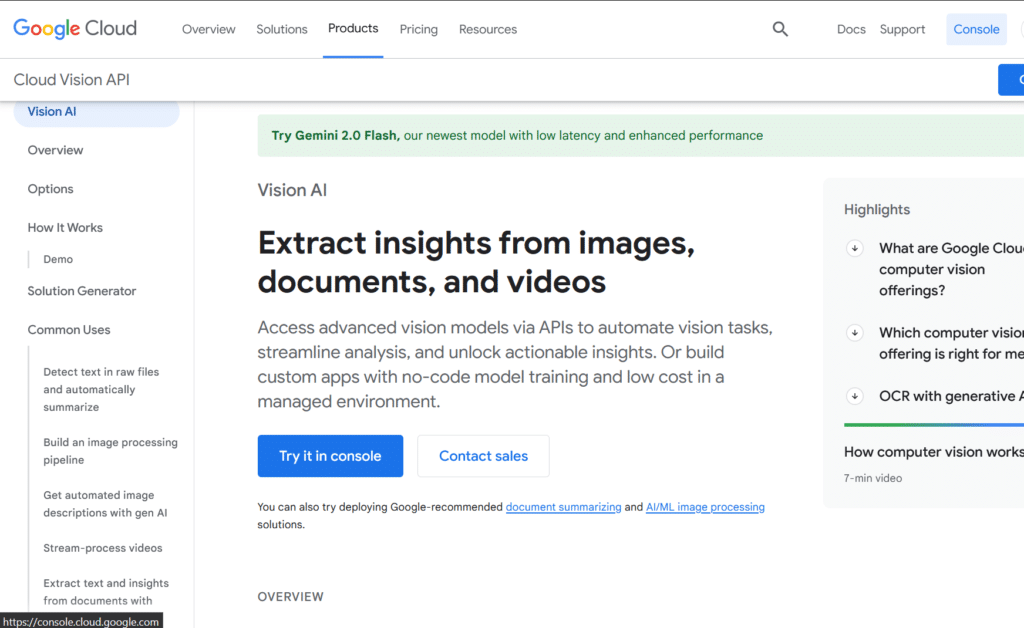
Step 4: Let us fetch our API key from google vision.
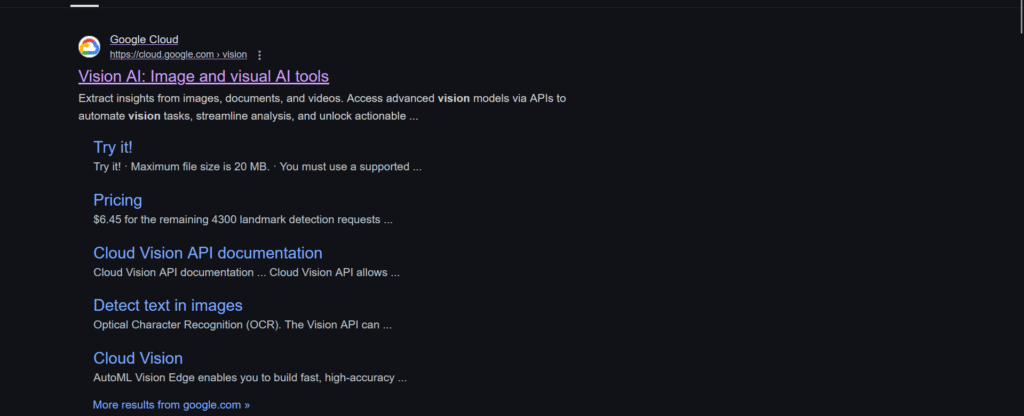
Step 5: After clicking on it sign in and then locate to console.
Step 6: Now let us create a new project.

Step 7: As I already have a project called Generative Language Client I am not creating any new project, since your a begineer click on button beside google cloud and create new project.
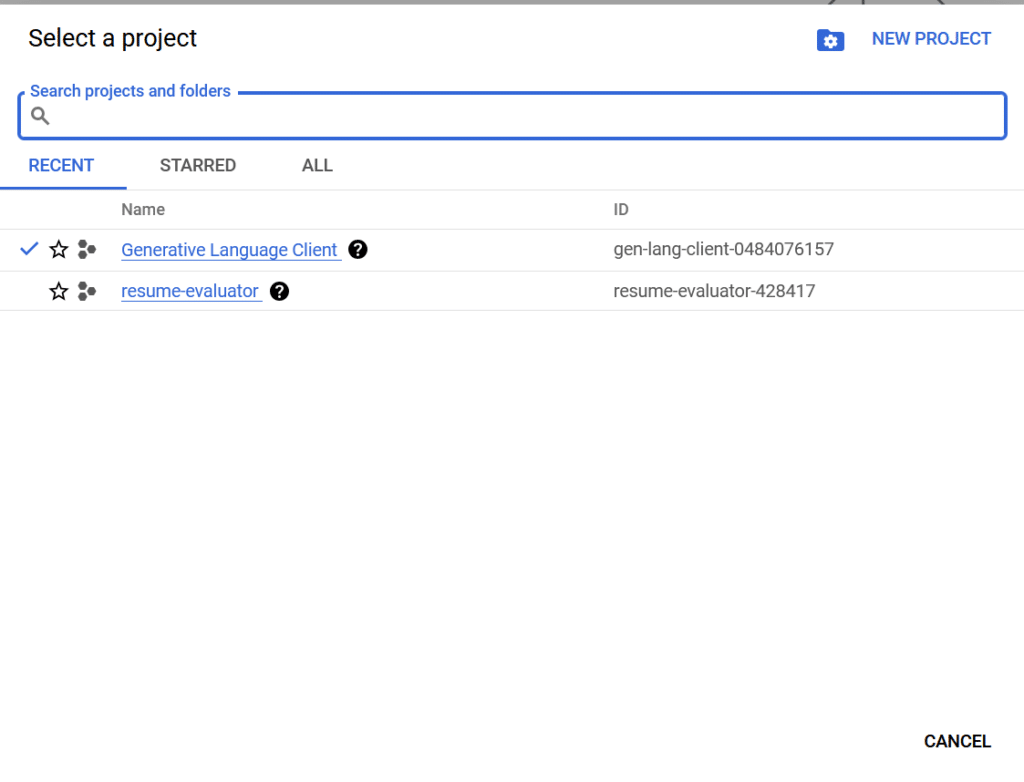

Now select this project from the button beside google cloud.
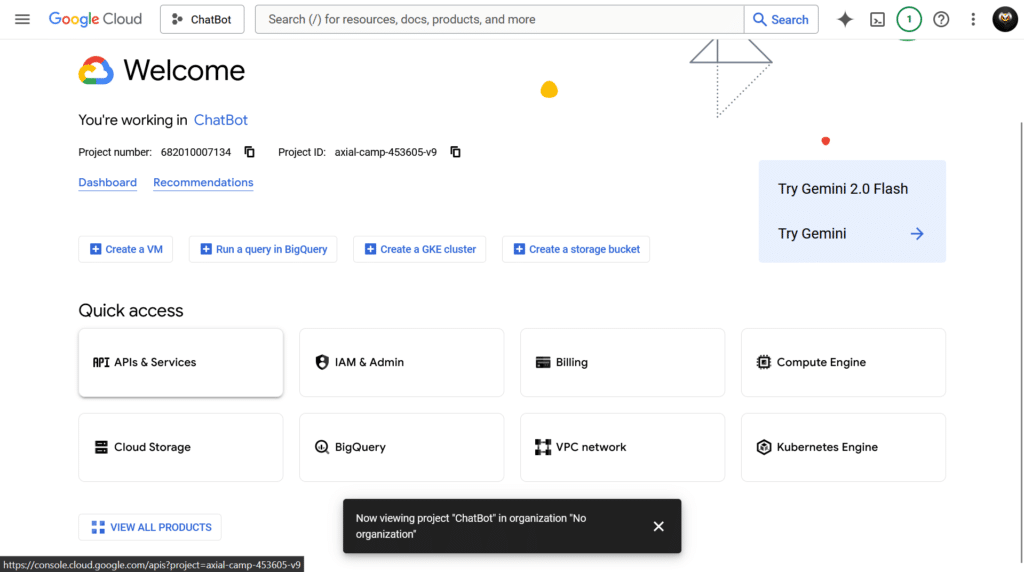
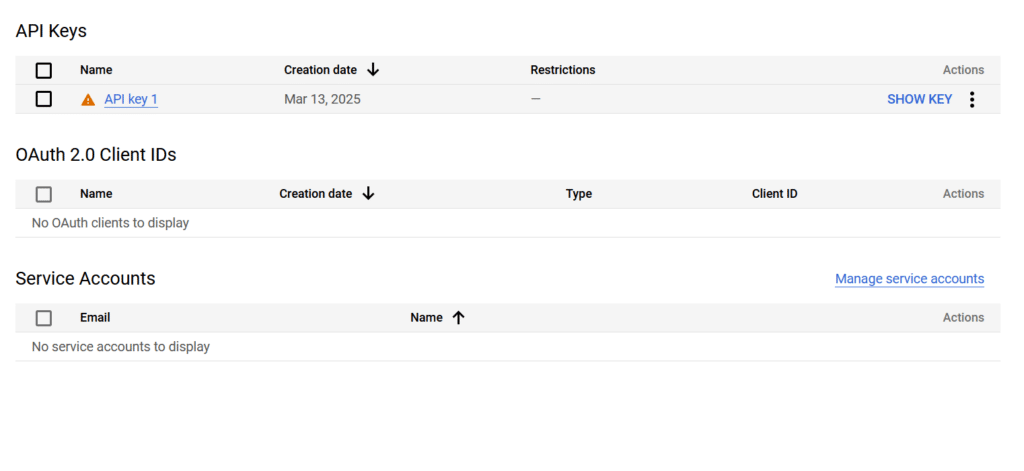
Now locate to APIs & Services, and go to Credentials, click on create credentials, and click create API key.
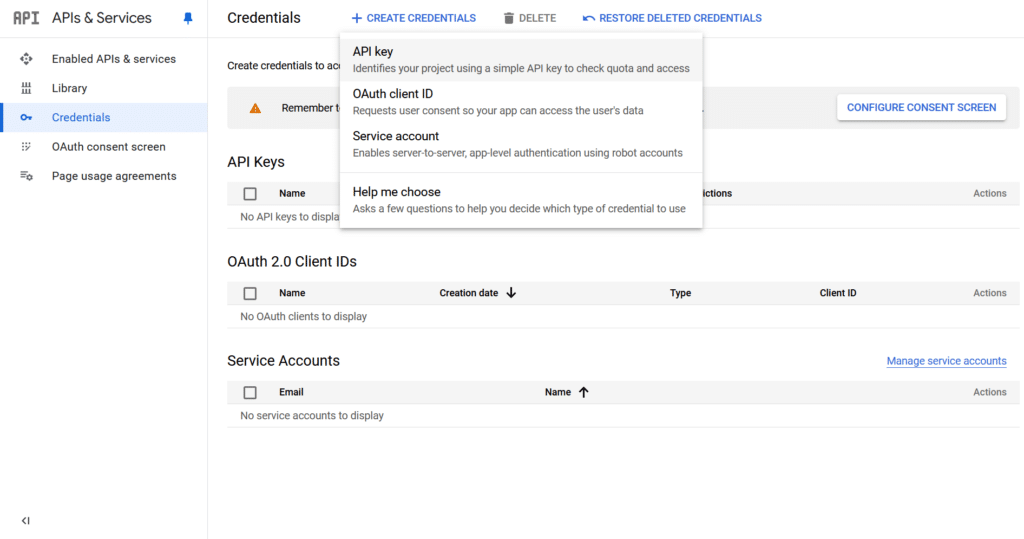
Now after clicking on it your API key will be created now copy the API key.
So now we are doing setting up everything required for our project let us start coding.
import streamlit as st
import google.generativeai as genai
import os
from dotenv import load_dotenv

# Load environment variables from .env file
load_dotenv()
GEMINI_API_KEY = os.getenv("GEMINI_API_KEY")

# Set the API key for Google Generative AI
if GEMINI_API_KEY:
    genai.configure(api_key=GEMINI_API_KEY)
else:
    st.warning("Please set your Gemini API key in the .env file.")

# Function to fetch responses from the Gemini model
def fetch_gemini_flash_response(prompt):
    try:
        model = genai.GenerativeModel("gemini-1.5-flash")  # Initialize the model
        response = model.generate_content(prompt)  # Generate content
        return response.text  # Return the response text
    except Exception as e:
        return str(e)  # Return the error message

# Initialize session state for storing fetched queries
if 'responses' not in st.session_state:
    st.session_state.responses = []  # List to store responses

# Streamlit app layout
st.title("Chat with LLM")

# User input for general query or prompt
user_prompt = st.text_input("Enter your general question (e.g., 'What is the capital of India?'): ")

# Button to handle the query
if st.button("Submit Query"):
    if user_prompt:
        with st.spinner(f"Fetching response for your query: '{user_prompt}'..."):
            response_content = fetch_gemini_flash_response(user_prompt)

        # Store the fetched response in session state
        st.session_state.responses.append({"query": user_prompt, "response": response_content})


# Display the fetched queries and responses at the bottom
if st.session_state.responses:
    st.subheader("Fetched Queries and Responses:")
    for entry in st.session_state.responses:
        st.markdown(f"**Query:** {entry['query']}")
        st.markdown(f"**Response:** {entry['response']}\n")
Now here we are done coding, but we have one thing left out to do.
Adding our API key into the .env file, it should be done through:
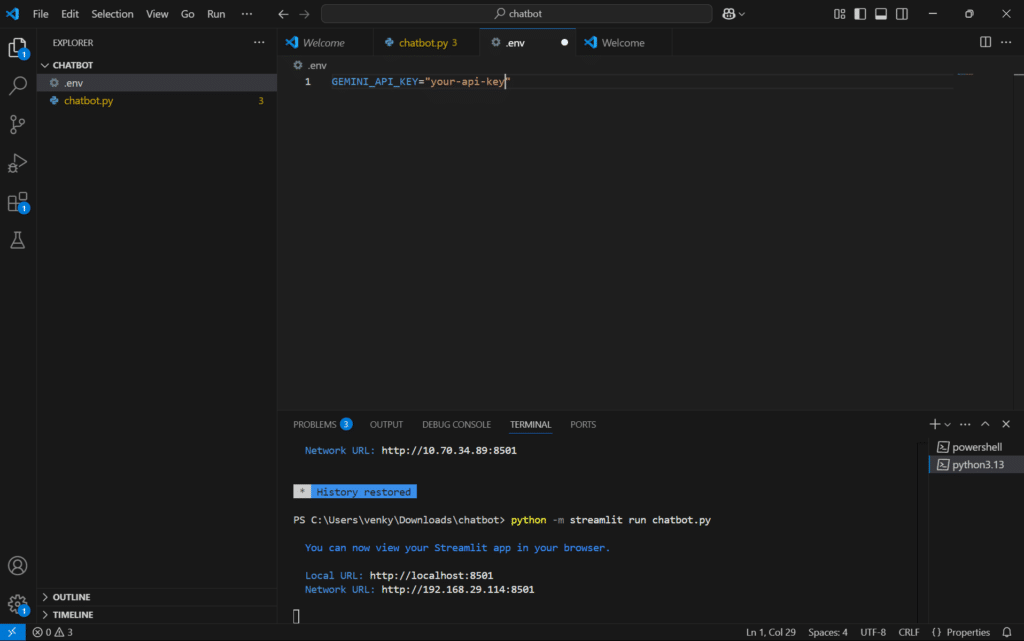
After all this steps are followed then you are good to go run this command:
python -m streamlit run chatbot.py
Now you can see your output as follows:
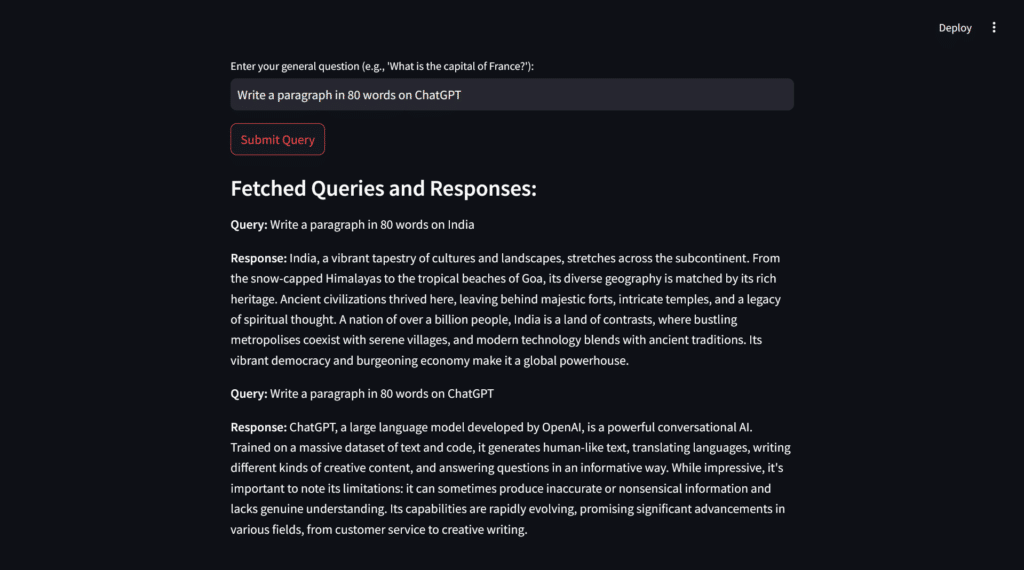
This way you can experiment and get responses accordingly.
This is it for this tutorial for more content do like, share and stay tuned to Prequelcoding.in.