Hello and welcome back in this blog we will see how to build a website from scratch in Streamlit, stay tuned till the end so that you can build one on your own.
In the previous blog we have seen the following things:
- What is Streamlit?
- Basics of Streamlit.
- Basics of CSS.
Make sure to go through the previous blog so you don’t get stucked anywhere reading this blog especially the css part make sure you read it.
Now let us see how to build a website from scratch now.
Make sure to have this following structure so you can get a better clarity and make no mistakes:
prequelcoding/
│
├── main.py
└── page/
├── navbar.py
├── home.py
├── about.py
├── contact.py
├── blog.py
Don’t get confused seeing the structure I’ll split everything and explain in the next few minutes.
Steps to make the structure:
- Make sure to create a new folder in my case it is “prequelcoding”.
- Now in that folder create a new file called “main.py” this is crucial because whatever functions you write for different pages you will call everything in this file.
- Now make a new folder inside “prequelcoding” called “page” this holds all your pages whatever you create.
- Now inside page I have created home, navbar, contact, blog, about, this may change according to user requirement.
- Last but not the least you need to pip install streamlit for starting with the website.
- For this project you need to have Python installed on your system and also need to have Visual Studio Code.
We are splitting it into different files so that we can avoid having huge code in a single page which will prone to more errors and confusion.
Now that you have a clarity on what the structure of the folder is let us proceed with the cooking of the website.
For a website having a navbar is most important thing and having it in the most prepossessing way is another important aspect..
Now let us start with building a navbar for the website:
Just a small thing to add:
<a href> — let us split a and href
what is a?
a or anchor tag is used to create hyperlinks
href – attribute within the element specifies the URL of the page where to go.
The main.py file is the heart of your Streamlit application. It handles the overall structure of your app by managing different pages and their associated functions.
Let us see the code:
import streamlit as st
from page.home import home
from page.about import about
from page.contact import contact
from page.blog import blog
from page.navbar import render_navbar

def main():
    # Initialize session state if not already set


    if 'page' not in st.session_state:
        st.session_state['page'] = 'home'  # Default to home on first load

    # Render the navigation bar
    render_navbar()

    query_params = st.query_params
    if 'page' in query_params:
        st.session_state['page'] = query_params['page']

    # Render the page content based on the session state
    if st.session_state['page'] == 'home':
        home()
    elif st.session_state['page'] == 'about':
        about()
    elif st.session_state['page'] == 'contact':
        contact()
    elif st.session_state['page'] == 'blog':
        blog()

    st.session_state['page'] = st.write(page=st.session_state['page'])

if __name__ == '__main__':
    main()
Now let us try to understand the main.py clearly.
Starting with the first thing:
from page.home import page
I’m trying to call my homepage from the page folder.
then next comes defining the main function.
def main() where we will write the pages to respond.
if ‘page’ not in st.session_state: — checks whether the key page exist in the st.session_state dictionary.
st.session_state[‘page’] = ‘home’ # Default to home on first load
next goes to render_navbar()
query_params = st.query_params — Used to get URL query parameters
if ‘page’ in query_params: — to check whether the page is in query_params dictionary
st.session_state[‘page’] = query_params[‘page’] — if yest then go to page according to the query.
if st.session_state[‘page’] == ‘home’:
home()
then when you are in the page then the function is called.
After this you are good to go for understanding the rest of the things.
now how do I run the code and see the website?
it is runned by this command:
streamlit run main.py
For checking the changes to you need to save the code in Visual Studio Code and run the command streamlit run main.py
#the below code to be written inside navbar.py
import streamlit as st

def render_navbar():  # This is the function which will be called in main
    st.markdown("""
    <style>
    /* Navbar styling */
    .navbar {
        background-color: black;
        padding: 30px;
        position: fixed;
        top: 0;
        right: 0;
        left: 0;
        width: 100%;
        z-index: 1000;
        box-shadow: 0 2px 4px rgba(184, 223, 10, 0.1);
        box-sizing: border-box;
        display: flex;
        align-items: center;
        justify-content: space-between;
    }

    /* For the menu we have specified which contains home, blog and etc. */
    .nav-links {
        list-style-type: none;
        display: flex;
        gap: 60px;
        margin: 0;
        padding: 0;
        justify-content: flex-end;
        margin-top: auto;
        margin-block-start: 10px;
    }

    /* This takes care of all the anchor elements <a>, and adds a white color to it and also removes underline by default. */
    .nav-links a {
        color: white; /* white color for links */
        text-decoration: none; /* Remove underline from links */
        font-weight: bold;
    }

    /* Whenever you are on a particular option it will underline that option. */
    .nav-links a:hover {
        text-decoration: underline; /* Underline on hover */
    }

    /* Styling for the brand name */
    .navbar-brand {
        font-size: 1.5em;
        font-weight: bold;
        color: white;
        text-transform: uppercase;
        letter-spacing: 1px;
        margin-left: 100px;
        margin-top: 30px;
        margin-bottom: 10px;
        margin-right: 10px;
        display: flex;
        align-items: center;
        margin-inline-start: 30px;
    }

    /* Applies to the whole app including all the nav-links. */
    .stApp {
        background-color: lightgray; /* Light gray background */
        height: 100vh; /* Full viewport height */
        padding-top: 80px; /* To avoid content being hidden under the navbar */
    }
    </style>
    <div class="navbar">
        <div class="navbar-brand">Prequelcoding</div>
        <ul class="nav-links">
            <li><a href="?page=home" class="nav-link">Home</a></li>
            <li><a href="?page=about" class="nav-link">About</a></li>
            <li><a href="?page=contact" class="nav-link">Contact</a></li>
            <li><a href="?page=blog" class="nav-link">Blog</a></li>
        </ul>
    </div>
    """, unsafe_allow_html=True)


if __name__ == "__main__":
    render_navbar()
Now that you have the code for navbar you may be having a doubt why this:
if __name__ == "__main__":
    render_navbar()
This is used so that is used to ensure that the code block within it only runs when the script is executed directly.
and why this?
   (unsafe_allow_html=True)
for security reasons html is not rendered so when you set this to true the html script is rendered.
for more clarity the visibility of navbar or navlinks and their css appear once your unsafe_allow_html is set to true.
So now I think all the doubts that may pop while reading may be clear now let us have a look at what have we built till now:
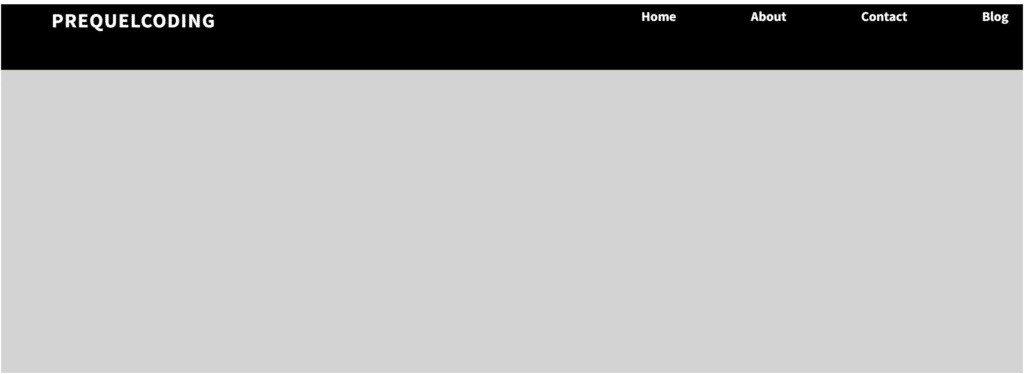
Remember you need to save your code using “ctrl+s” in VS Code and then reload the website to see changes.
Now let us write some content into different pages whatever we created and have a look at them too..
the below code to be written in home.py
import streamlit as st
def home():
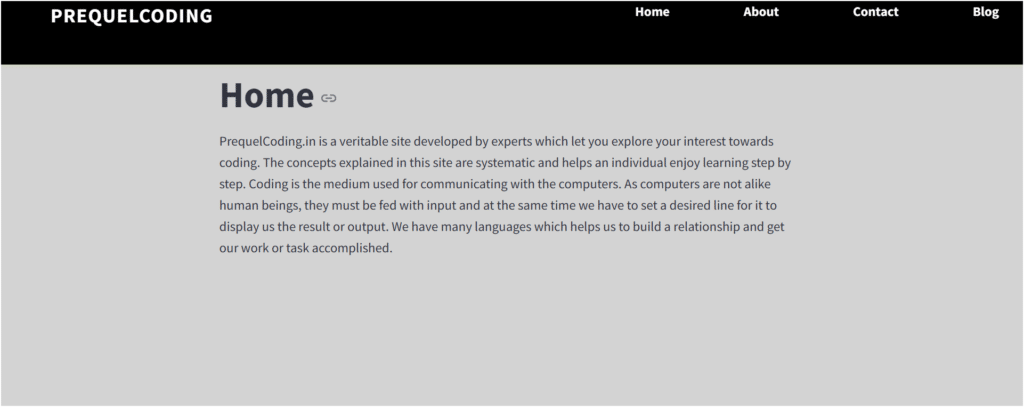
st.title('Home')
st.write("""
PrequelCoding.in is a veritable site developed by experts which let you explore your interest towards coding.
The concepts explained in this site are systematic and helps an individual enjoy learning step by step.
Coding is the medium used for communicating with the computers. As computers are not alike human beings, they must be fed with input and at the same time we have to set a desired line for it to display us the result or output.
We have many languages which helps us to build a relationship and get our work or task accomplished.
""")
if __name__ == "__main__":
home()
This is the coding for home page now let us try to have a look at this too:
the below code to be written in about.py
import streamlit as st
def about():
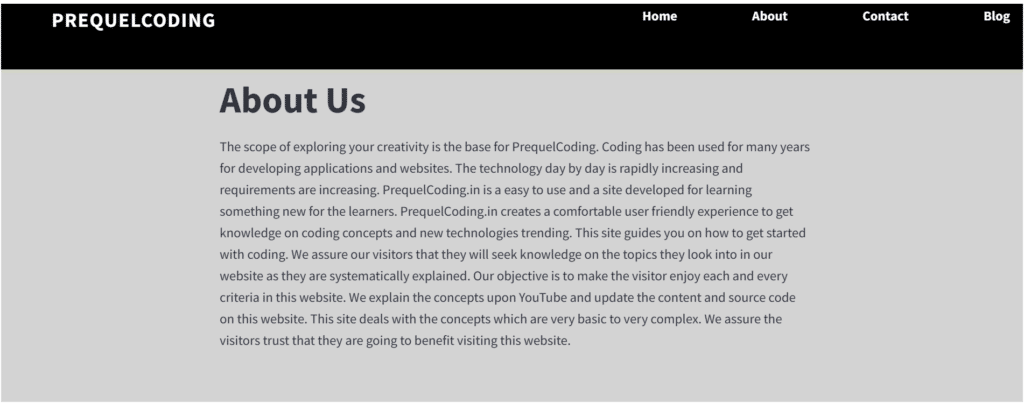
st.title('About Us')
st.write("""
The scope of exploring your creativity is the base for PrequelCoding.
Coding has been used for many years for developing applications and websites.
The technology day by day is rapidly increasing and requirements are increasing.
PrequelCoding.in is a easy to use and a site developed for learning something new for the learners.
PrequelCoding.in creates a comfortable user friendly experience to get knowledge on coding concepts and new technologies trending.
This site guides you on how to get started with coding.
We assure our visitors that they will seek knowledge on the topics they look into in our website as they are systematically explained.
Our objective is to make the visitor enjoy each and every criteria in this website.
We explain the concepts upon YouTube and update the content and source code on this website.
This site deals with the concepts which are very basic to very complex.
We assure the visitors trust that they are going to benefit visiting this website.
""")
if __name__ == "__main__":
about()
This is the coding for about page now let us try to have a look at this too:
the below code to be written in contact.py
import streamlit as st
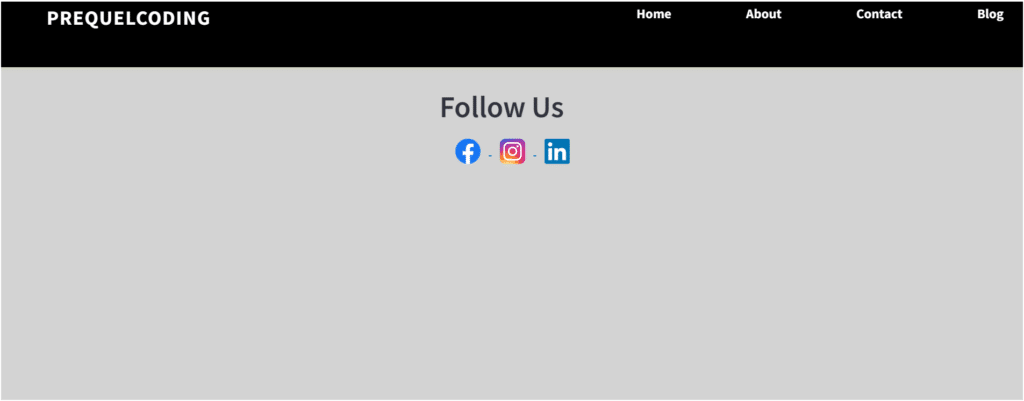
def contact():
st.markdown("""
<div style="text-align: center; padding: 20px;">
<h2>Follow Us</h2>
<a href="https://www.facebook.com/yourprofile" target="_blank">
<img src="https://upload.wikimedia.org/wikipedia/commons/5/51/Facebook_f_logo_%282019%29.svg" alt="Facebook" style="width: 30px; height: 30px; margin: 0 10px;">
</a>
<a href="https://instagram.com/yourprofile" target="_blank">
<img src="https://upload.wikimedia.org/wikipedia/commons/a/a5/Instagram_icon.png" alt="Instagram" style="width: 30px; height: 30px; margin: 0 10px;">
</a>
<a href="https://www.linkedin.com/in/yourprofile" target="_blank">
<img src="https://upload.wikimedia.org/wikipedia/commons/c/ca/LinkedIn_logo_initials.png" alt="LinkedIn" style="width: 30px; height: 30px; margin: 0 10px;">
</a>
</div>
""", unsafe_allow_html=True)
if __name__ == "__main__":
contact()
#the image links are only used for educational purpose.
This is the coding for contact page now let us try to have a look at this too:
the below code to be written in blog.py
import streamlit as st
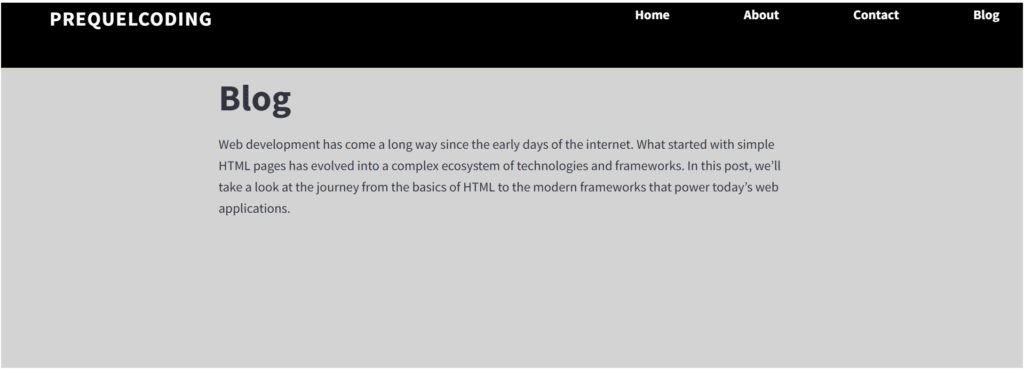
def blog():
st.title('Blog')
st.write("""
Web development has come a long way since the early days of the internet.
What started with simple HTML pages has evolved into a complex ecosystem of technologies and frameworks.
In this post, we’ll take a look at the journey from the basics of HTML to the modern frameworks that power today’s web applications.
""")
if __name__ == "__main":
blog()
This is the coding for blog page now let us try to have a look at this too:
This is it for this blog if you have any queries comment in the comment section and keep learning.