Hello and welcome back to my blog today we will see some of the advanced mini projects in python so why late let us get started..

- Automation of a message to WhatsApp via Python:
Texting at any time is a hectic task. We can make the use of python to perform this task and get our work done in a very short time.
Automation of message.
The steps to be followed are:
Step 1: install pycharm on your system from the link given.
https://www.jetbrains.com/pycharm/
Step 1:

Step 2:
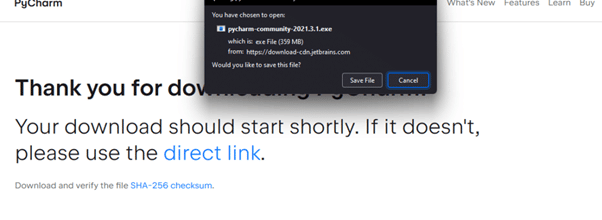
Step 3: Download and install the IDE.
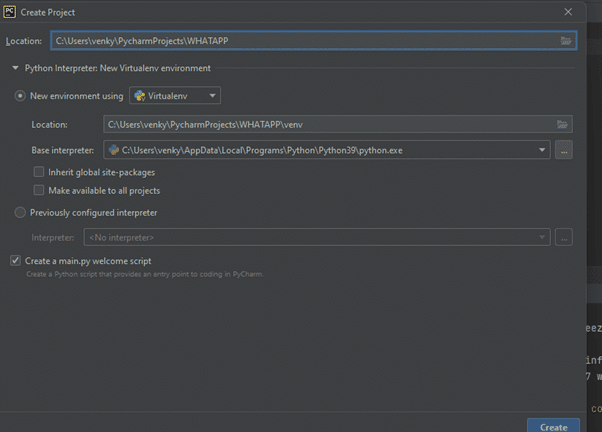
Step 4: Now first we need to create a new project
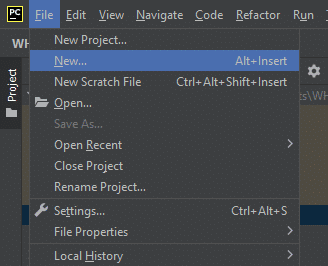
And then name the project.
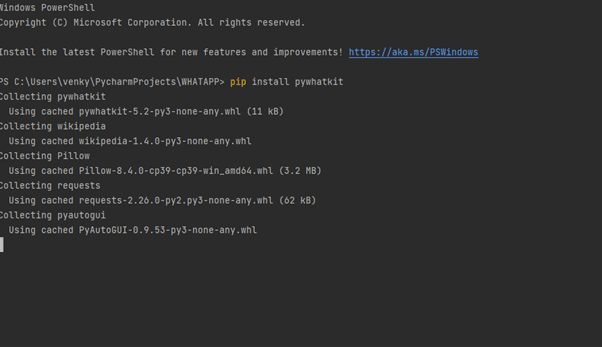
Now we need to open the pycharm terminal and install pywhatkit in it.
install:
pip install pywhatkit
And now after the installation we can go ahead and start our automation process.
Now we need to import pywhatkit in it.
Code:
import pywhatkit
Now we need to make the use of pywhatkit and send the message:
pywhatkit.sendwhatmsg(“phone-number”, “The message”, hours, minutes)
….
We need to enter the phone number with the country code or else the compiler will pop error.
Now the output and full code is:
import pywhatkit
pywhatkit.sendwhatmsg(“+xyz”, “This is prequelcoding.in”, 13, 49)
And run this code the output would be:
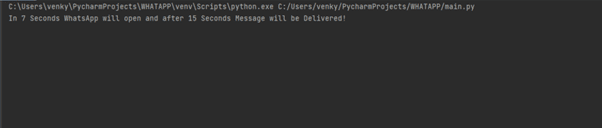
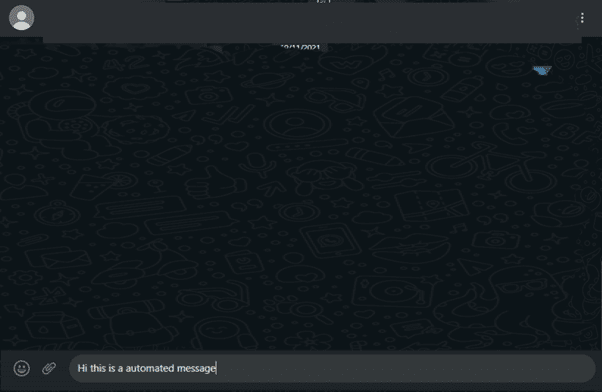
After the code is successfully compiled you will be redirected to your whatsapp web.
- Auto shutdown via Python:
If you are given a task to shut down your system then we can do it via python easily in just three lines of code.

Automation..
Let us see how:
We need to first import os..
Why?
It is a module in Python which provides us functions for creating and removing a directory, fetching its contents, changing and identifying the current directory.
Now import:
import os
Now let us invoke shutdown and then declare it.
shutdown = input(“Do you want to shutdown? (yes/no): “)
Now invoke some looping statements:
if shutdown == ‘yes’:
os.system(“shutdown /s /t 1”)
Why
os.system(“shutdown /s /t 1”)?
It is a method used to shutdown our laptop/PC using python script.
So we are using this function which make our work easy..
Now:
Alternate loop.
else:
print(‘Shutdown is not required’)
Now full code:
import os
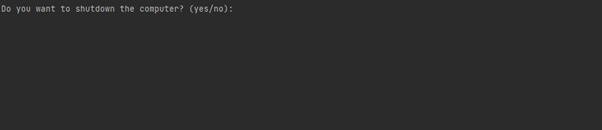
shutdown = input(“Do you want to shutdown the computer? (yes/no): “)
if shutdown == ‘yes’:
os.system(“shutdown /s /t 1”)
else:
print(‘Shutdown is not required’)
//output:
If yes then your system will shutdown automatically.
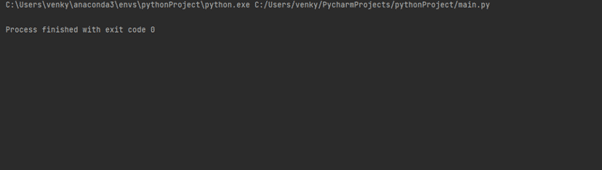
If no:

- Text To Speech:
How to make our computer spout off the text we printed?

When we are converting the text to a speech in our computer then it is said to be speech synthesizer. A text-to-speech(TTS) can convert the text to speech.
Now let us dive into the coding part.
We need to install a module to start with the code.
pip install pyttsx3
Why pyttsx3?
It is a module which will take care of the libraries required for text to speech conversion.
Now import the installed module.
import pyttsx3
Now call for the engine.
engine = pyttsx3.init()
Why pyttsx3.init() factory function?
This helps us to get a allusion to a pyttsx3.
Now we have to invoke what we want our compiler to speak.
engine.say(“Welcome to prequelcoding.in a guide to learn coding.”)
Now last but not the least we have to ask the engine to runAndWait
Why?
This makes the speech to be audible to the user if we are not going to invoke this statement then we might not hear to the sentences we have invoked.
engine.runAndWait()
Full Code:
import pyttsx3
engine = pyttsx3.init()
engine.say(“Welcome to prequelcoding.in a guide to learn coding.”)
engine.runAndWait()
The compiler then spout off what you have invoked while inputting.
- Fake Profile in Python:
If we have a requirement to generate fake data in Python, then we may make the use of the Faker module and get our work easily done.

So today this blog stands to explain how do you create a fake profile in Python.
Steps:
You need to create a project in your compiler and name it.
Then we need to now install a module which will make our work much more easy.
The module is:
pip install Faker
After the installation we just need to write the code and get it compiled.
Importing faker:
from faker import Faker
Assigning Faker:
fake = Faker()
Printing some lines:
print(fake.name())
print(fake.email())
print(fake.country())
print(fake.profile())
Full Code:
from faker import Faker
fake = Faker()
print(fake.name())
print(fake.email())
print(fake.country())
print(fake.profile())
- Generating a QR Code in Python:

What is a QR?
QR stands for Quick Response which is a machine-readable label or code which contains the information.
How to see the information stored in QR?
From the reference to the previous text, it is clear that QR is a machine-readable label so it will be revealed when we scan it.
In Python we can input the content and get our output let us see how.?
If we have a requirement to make a QR Code with your YouTube channel, a website or may be an application then we can simply write code in three lines and get output.
Let me show you how?.
We need to first install two modules in our python compiler.
The first one is:
pip install qrcode
Why qrcode??
This module consists of all the QR code library.
Now we will install another module.
pip install image
Why image?
Pillow or PIL is a library in Python which is used to image class within it to show the image.
Now we will start coding…
Importing:
import qrcode
Now we will make the qrcode:
img = qrcode.make(“https://youtu.be/4gICorLyNhs”)
Here I’m trying to store my YouTube channel link in the variable img..
Now we will save the qr code.
img.save(“Channel.jpg”)
After saving the qr code we need to go to the projects file and our code is ready to be scanned..
Full Code:
import qrcode
img = qrcode.make(“https://youtu.be/4gICorLyNhs”)
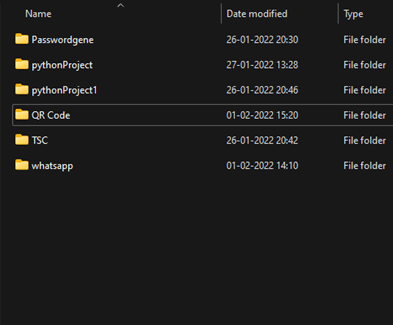
Locating the project.
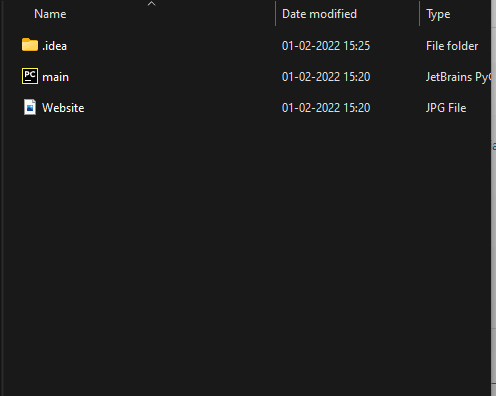
Sample Code.. Find the Image
- Generating a Password in Python:
Password in general is used to protect our information from third-party access. So, if we have the requirement to create a password python helps us to create password.
According to the requirement we can ask the compiler to print the password with lowercase, uppercase and special characters.
The harder the password generated the harder to crack it.
So python helps us to fulfill this requirement.

Now let us implement the code..
importing library:
import random
Why to import random?
Random module contains the random numerical digits required for the code..
Now let us create a line to print the length of the password.
password_length = int(input(“Ener the length of password: “))
Now let us try to invoke lowercase, uppercase, special characters and numericals in our code in array.
UPPERCASE = [‘A’, ‘B’, ‘C’, ‘D’, ‘E’, ]
LOWERCASE = [‘a’, ‘c’, ‘d’, ‘e’, ‘f’]
DIGITS = [‘1’, ‘3’, ‘5’, ‘7’, ‘9’]
SPECIAL = [‘@’, ‘#’, ‘$’, ‘*’]
Now we need to combine all the arrays in one form.
COMBINED_LIST = DIGITS + UPPERCASE + LOWERCASE + SPECIAL
password = ” ” .join(random.sample(COMBINED_LIST, password_len))
Why this line?
We are going to join the function created our password to an empty string on left.
Now finally print the password.
print(password)
Full Code:
import random
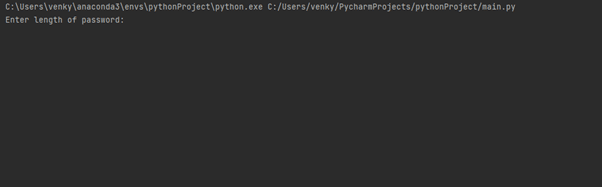
password_len = int(input(“Enter length of password: “))
UPPERCASE = [‘A’, ‘B’, ‘C’, ‘D’, ‘E’, ]
LOWERCASE = [‘a’, ‘c’, ‘d’, ‘e’, ‘f’]
DIGITS = [‘1’, ‘3’, ‘5’, ‘7’, ‘9’]
SPECIAL = [‘@’, ‘#’, ‘$’, ‘*’]
COMBINED_LIST = DIGITS + UPPERCASE + LOWERCASE + SPECIAL
password = ” ” .join(random.sample(COMBINED_LIST, password_len))
print(password)
//ouput:
Video link for all the projects: